1. Deploy
The whole deploy form is an email and a password. The first start takes a few minutes.
This quickstart follows a fresh deploy, with a demo repo: a coffee shop’s website with three open issues. It has 18 steps over three pages: deploy, the setup page, and your first job.
Deploy on Railway-
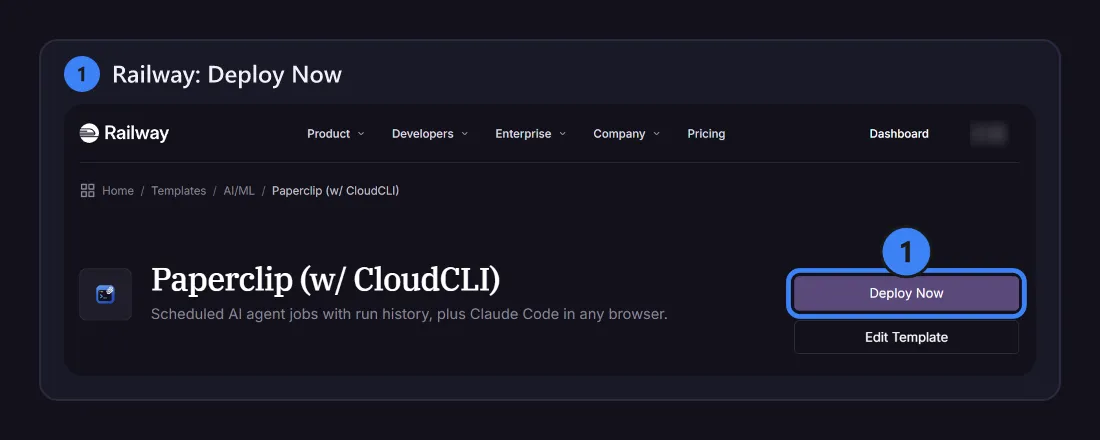
Open the template’s page on Railway and press Deploy Now.
-
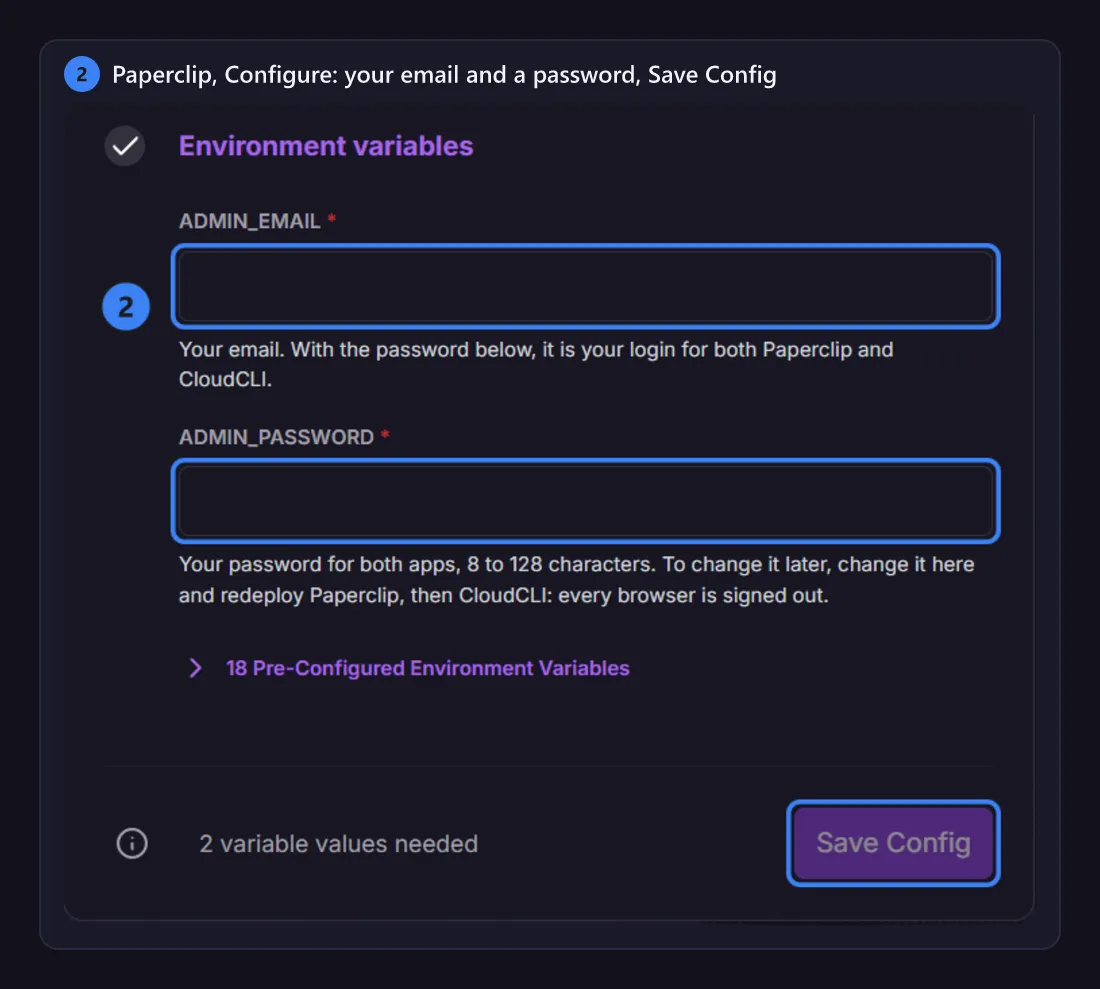
On Paperclip, press Configure. Type your email and a password (8 to 128 characters), then press Save Config.
This is your login for both apps, and the whole form. Leave the other fields as they are.
-
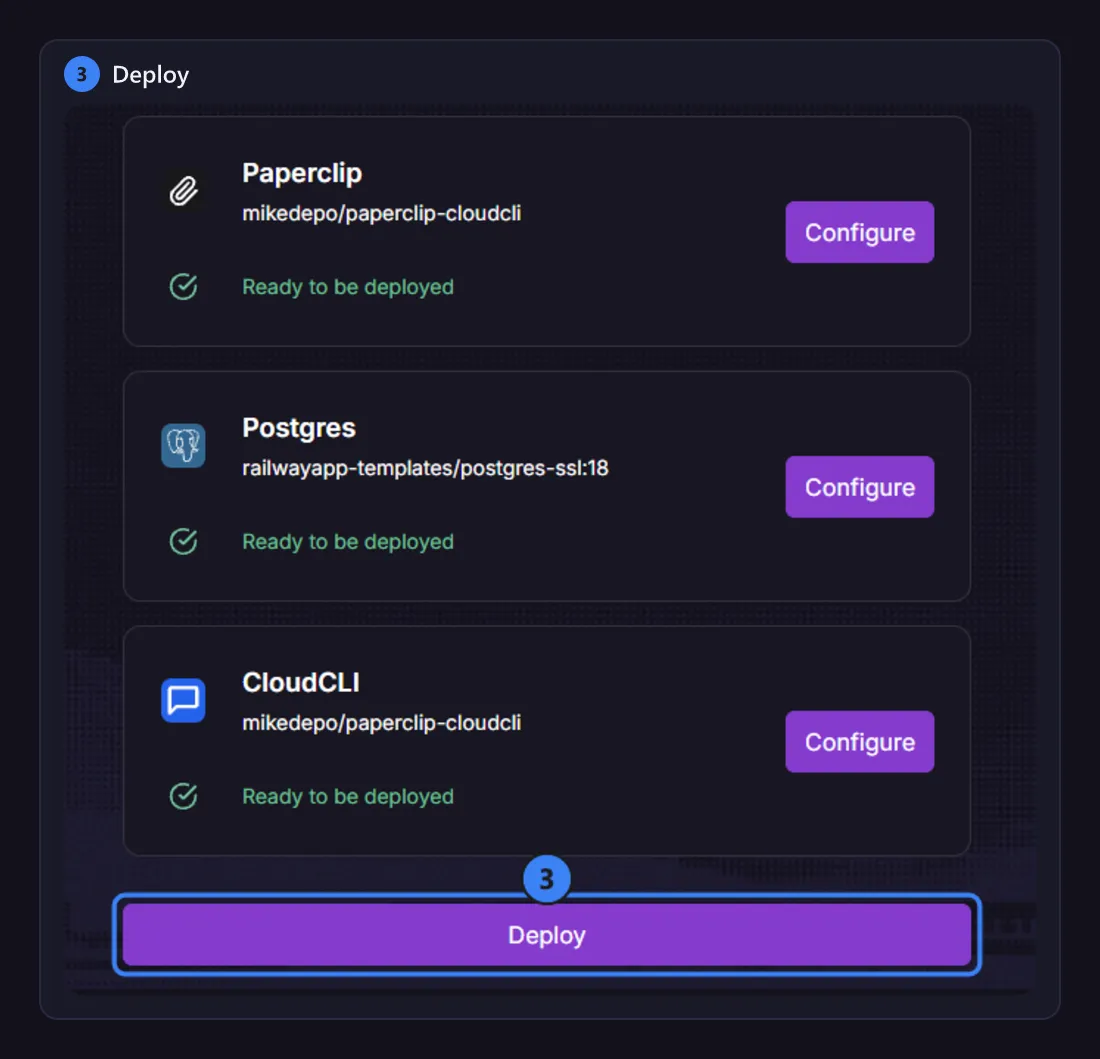
Press Deploy.
Railway builds the three services: Paperclip, CloudCLI and Postgres. The first start takes a few minutes, while CloudCLI installs its tools into its volume.
-
Once all three services are online, open the CloudCLI service and press its URL.
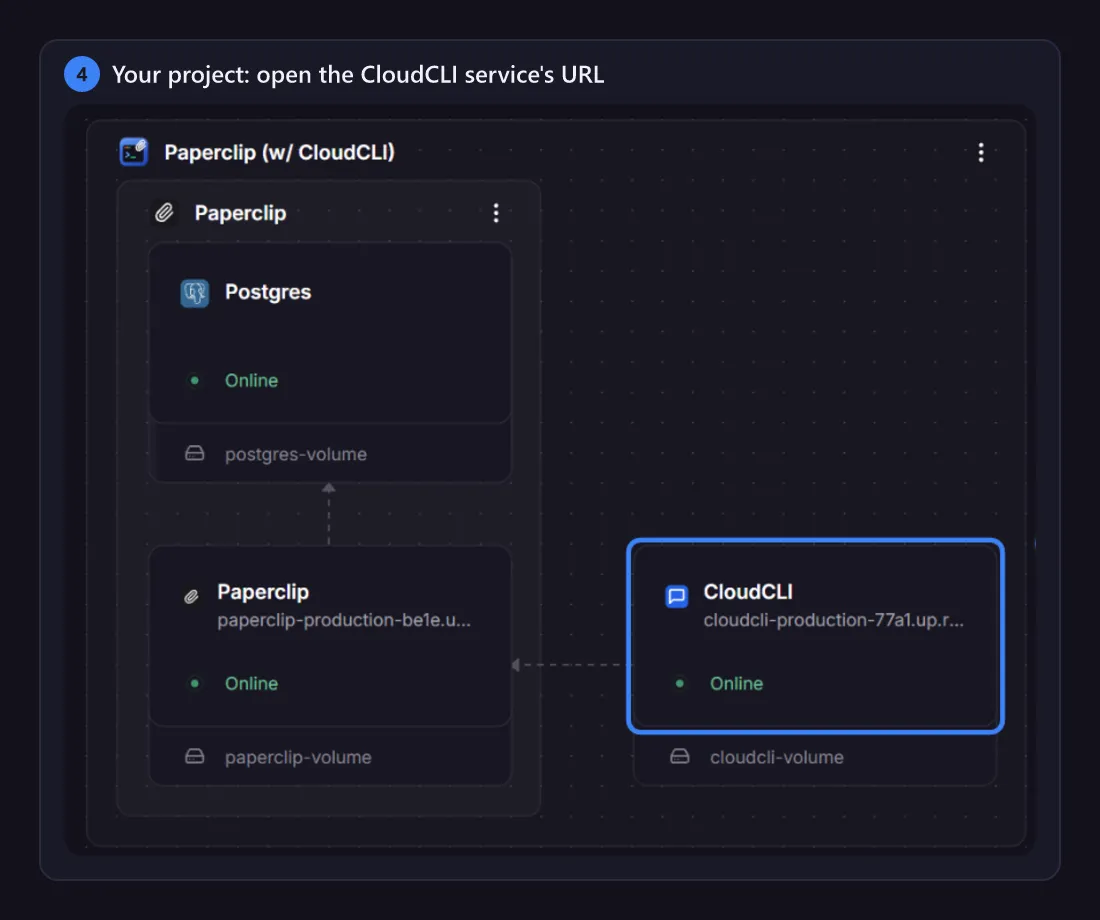
The CloudCLI address opens the setup page. Continue with 2. The setup page.
Paperclip (w/ CloudCLI) is a Railway template by AvgSoft. Paperclip, CloudCLI, Claude Code, Codex and Railway belong to their makers. Template codeDeploy on Railway